

Signing In to Backbuild Miles
Your account is what turns a phone that notices you are driving into a mileage log you can file. It is also the thing standing between your movement history and whoever else picks up your phone, so Backbuild Miles asks for a second factor and does not let you skip it. This page walks the whole account surface: creating an account, setting up two-factor authentication and storing the recovery codes that get you back in, signing in on a new phone, resetting a password you have forgotten, and what signing out actually does, including the part people get wrong.
Signing In
After this section you will be able to sign in on any phone, and know which of the two prompts you are answering.
Backbuild Miles asks for your email address first, on its own, and only then for your password. There is a reason for the two steps: some organisations sign their people in through their own identity provider rather than with a password, and the app cannot know which applies to you until it knows who you are. Entering your email and tapping Continue settles that, and you are shown the right second step.
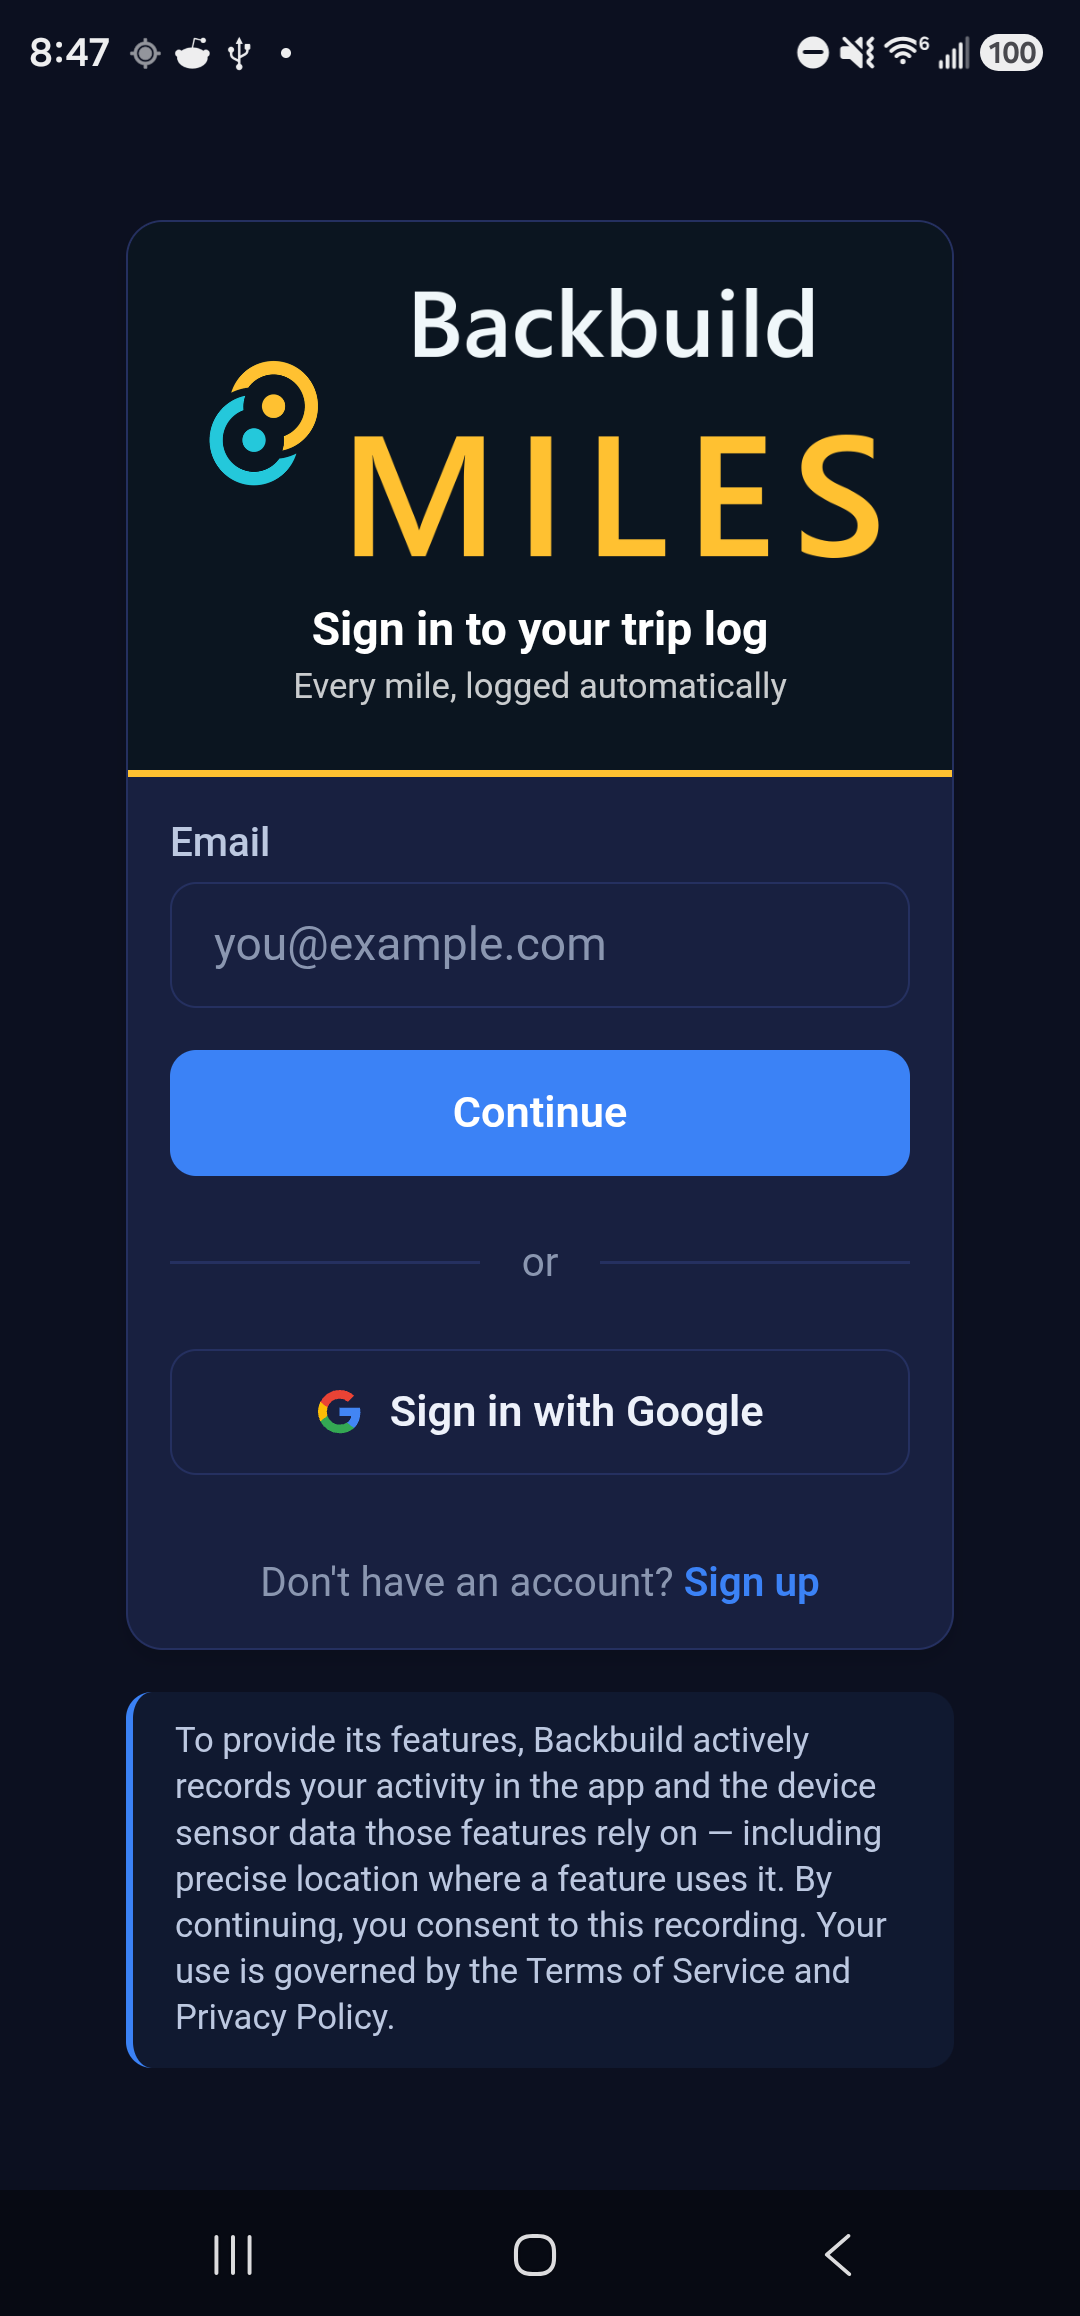
On the password step you will see two things worth understanding:
- Remember me is on by default, and it is what keeps you signed in between drives. Leave it on. Backbuild Miles is meant to record the journeys you never open the app for, and re-entering a password every morning defeats that. Turn it off on a phone you share.
- Forgot password? takes you to the reset screen described further down this page, carrying the email you have already typed so you do not type it twice.
If your account has two-factor authentication (and every account created in the app does), the password is not the last step. See Answering the two-factor prompt.
Creating an Account
After this section you will have an account, a second factor, and your recovery codes stored somewhere safe.
Tap Sign up at the bottom of the sign-in screen. The progress rail across the top shows the four steps, so you always know how much is left: Email, Verify, Password, 2FA.
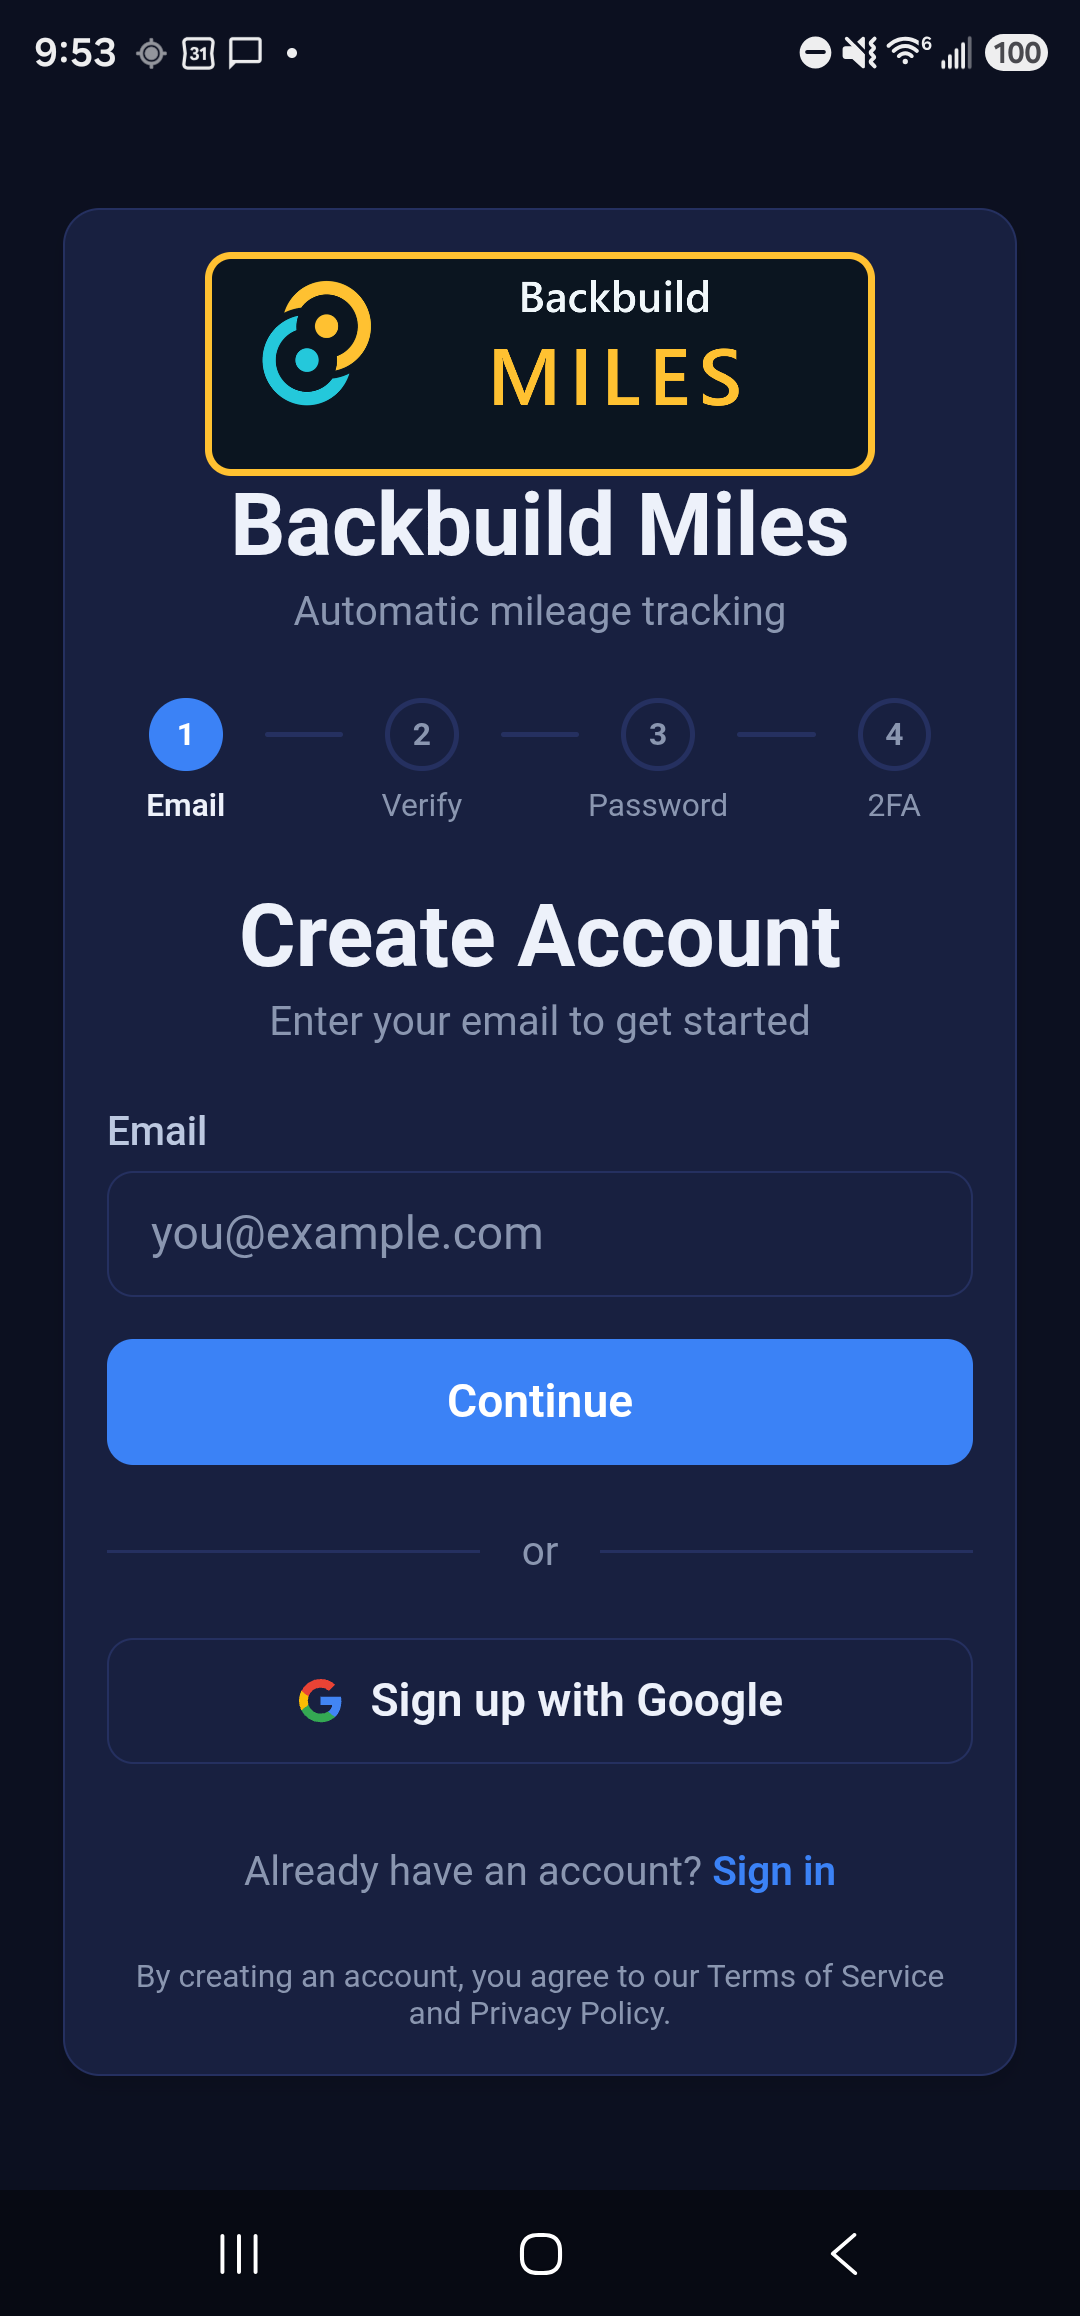
- Email. Enter the address you want the account under and tap Continue. This can take a few seconds while the app checks that the request is coming from a person.
- Verify. We email you a six-digit code; type it into the six boxes. The code expires after ten minutes; Resend code sends a fresh one, and Change email address takes you back a step if you mistyped the address. You can also just open the link in the email on the same phone, which fills the code in for you.
- Password. Choose a display name and a password. The strength meter beside the field updates as you type, and the requirements are strict on purpose: at least 13 characters, with an upper-case letter, a lower-case letter, a digit and a symbol. If something is missing the screen says which one rather than just refusing.
- 2FA. Set up your second factor, below.
Backbuild Miles does not ask you to create a Secrets vault master password. The wider Backbuild platform has an encrypted vault for credentials, protected by a master password separate from your login. Backbuild Miles has no vault surface (there is nothing here to unlock), so it does not make you invent one to record mileage. If you later sign in to the main Backbuild app, that is where you will be asked for it, once.
Setting Up Two-Factor Authentication
Two-factor authentication is required, not optional, and there is no skip control. Your trip history is a record of where you have been; a password alone is thin protection for it.
On a phone that can use its own fingerprint, face or PIN unlock as a second factor, the list starts with This device, marked Recommended: there is nothing to scan or type, and the phone itself becomes your second factor, so you are asked to unlock it whenever you sign in. If you lose or reset that phone, your recovery codes are the way back in. On a phone where it is not offered, you choose one of the three methods below.
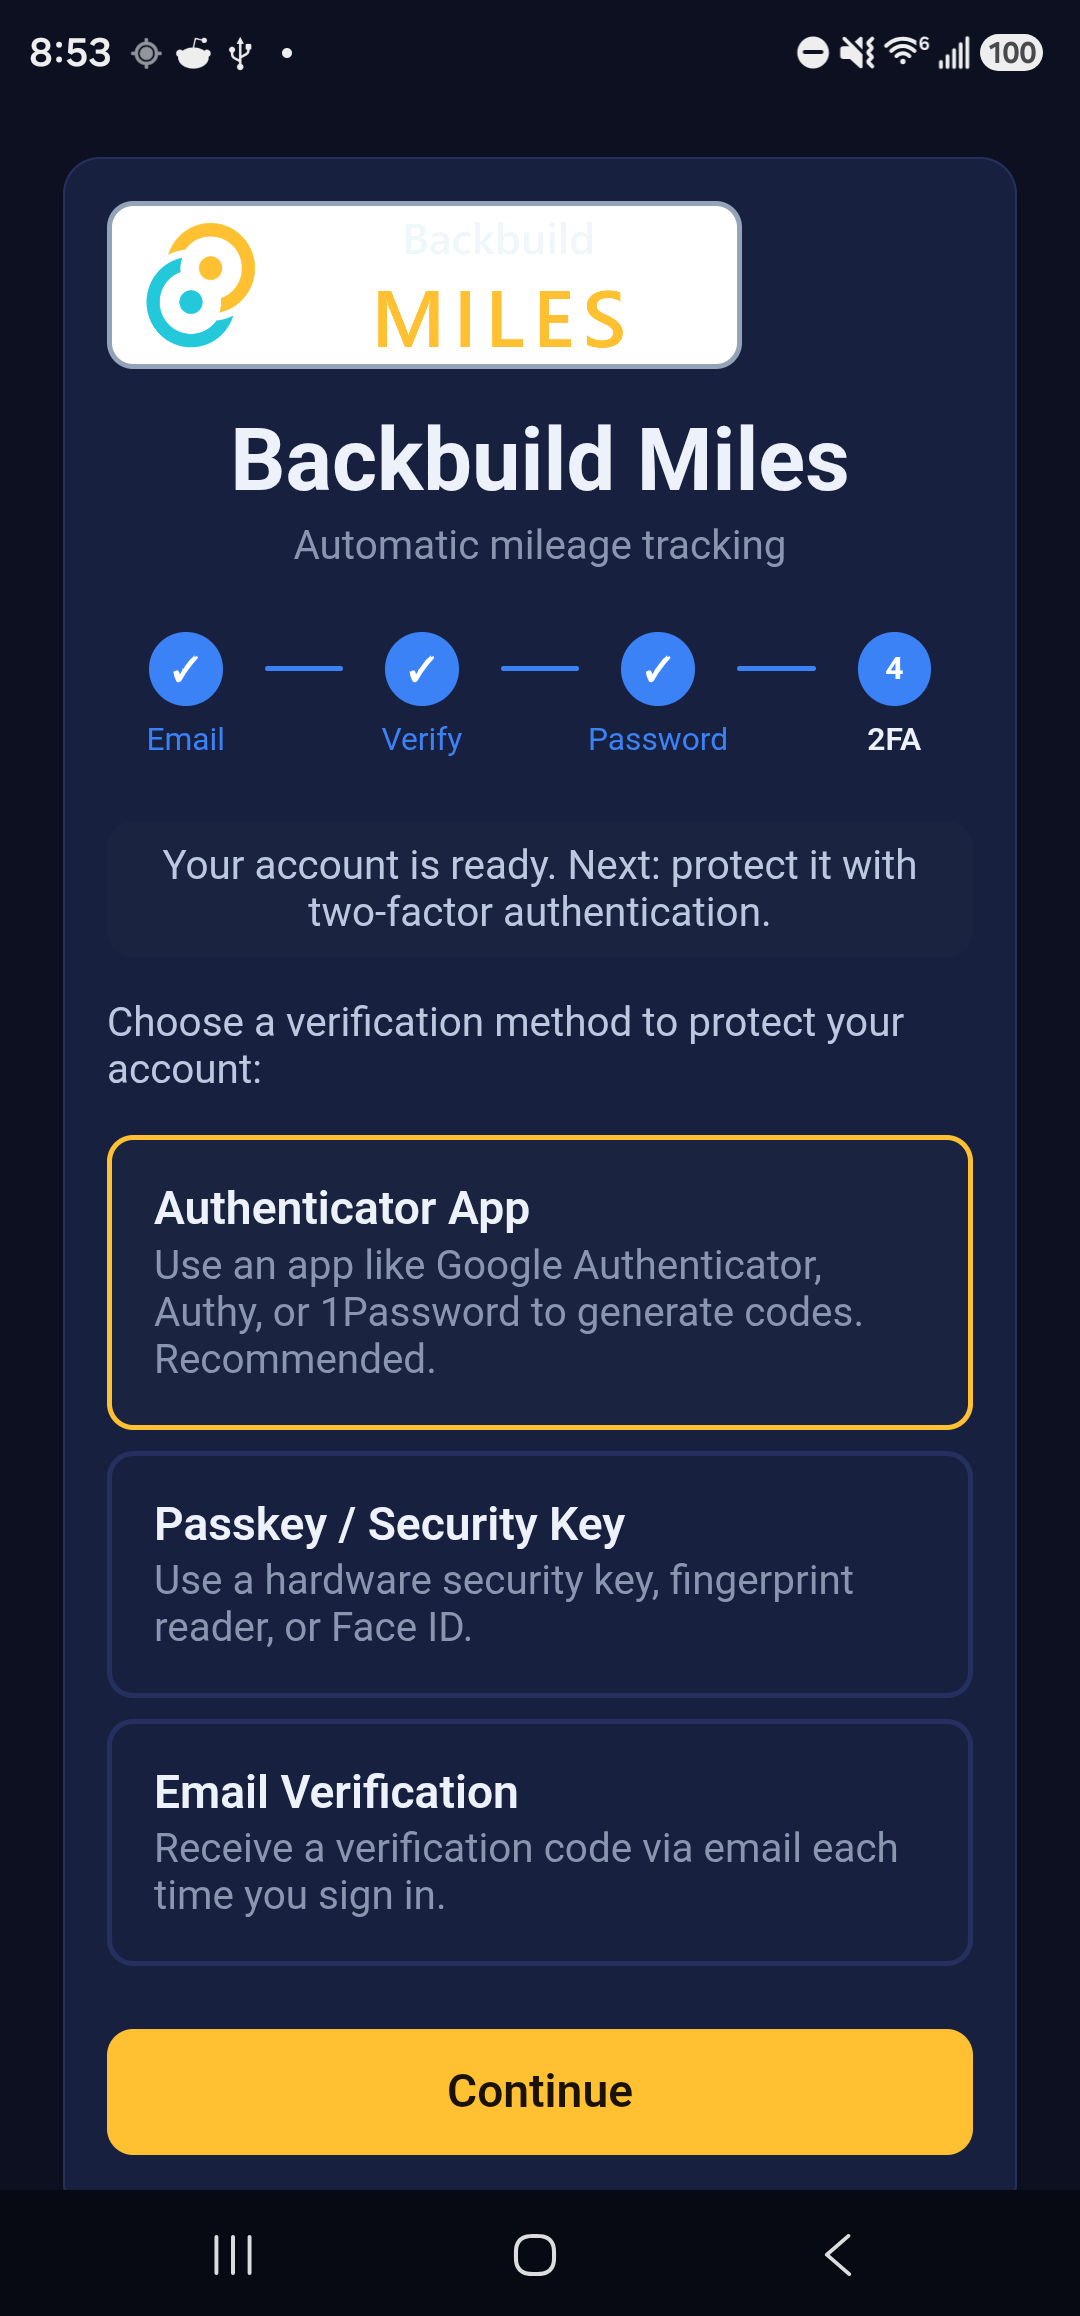
- Authenticator app: recommended when This device is not offered. The screen shows a QR code and a setup key, both hidden behind a tap until you are ready, because anything that can read your screen can read your second factor. If you are setting this up on the same phone the authenticator is on, you cannot scan your own screen: use Copy setup key and paste it into the app instead. Then type the six-digit code it generates.
- Passkey or security key: your phone's fingerprint reader or face unlock, or a hardware key. When This device is offered, this choice is labelled Security key and covers a hardware key or a passkey stored on another device.
- Email verification: a code sent to your address at every sign-in. It works everywhere, and it is the weakest of the three, because anyone who reaches your mailbox reaches your account.
Your Recovery Codes Are the Only Way Back
Once your factor is confirmed, Backbuild Miles shows ten single-use recovery codes. They are masked until you tap Show codes.
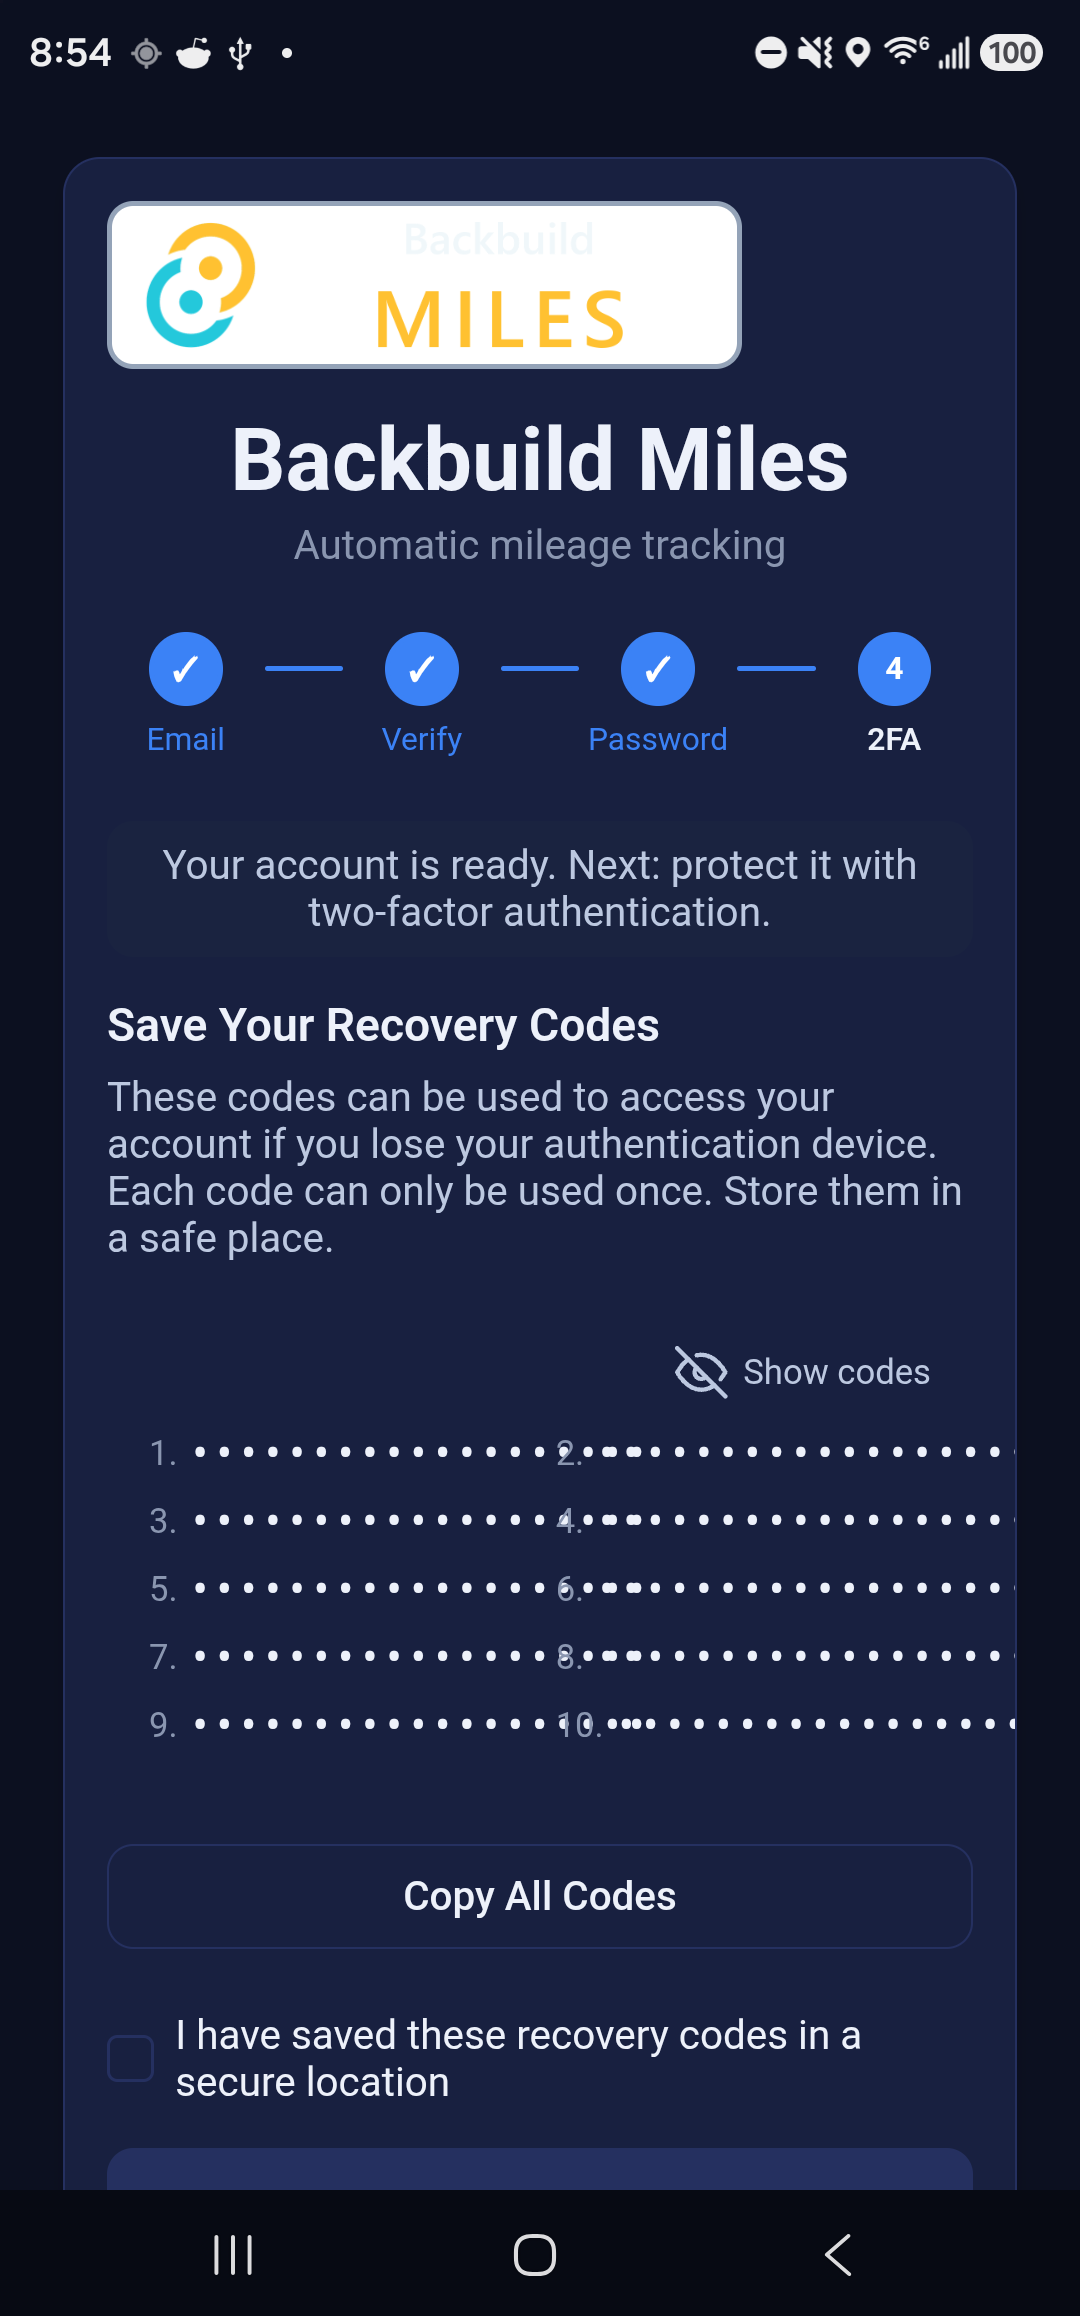
Copy them somewhere that is not this phone: a password manager, or paper in a drawer. If you lose the phone that holds your authenticator, a recovery code is what gets you back into your own mileage records. Each one works once.
Tick the confirmation and tap Continue. This screen is longer than the phone display, so if the button does not respond, scroll the list down a little and tap it again.
Answering the Two-Factor Prompt
After this section you will know what to do when your password is accepted and you are still not in.
On every sign-in after the first, your correct password takes you to this screen rather than straight to your dashboard. That is the second factor doing its job.
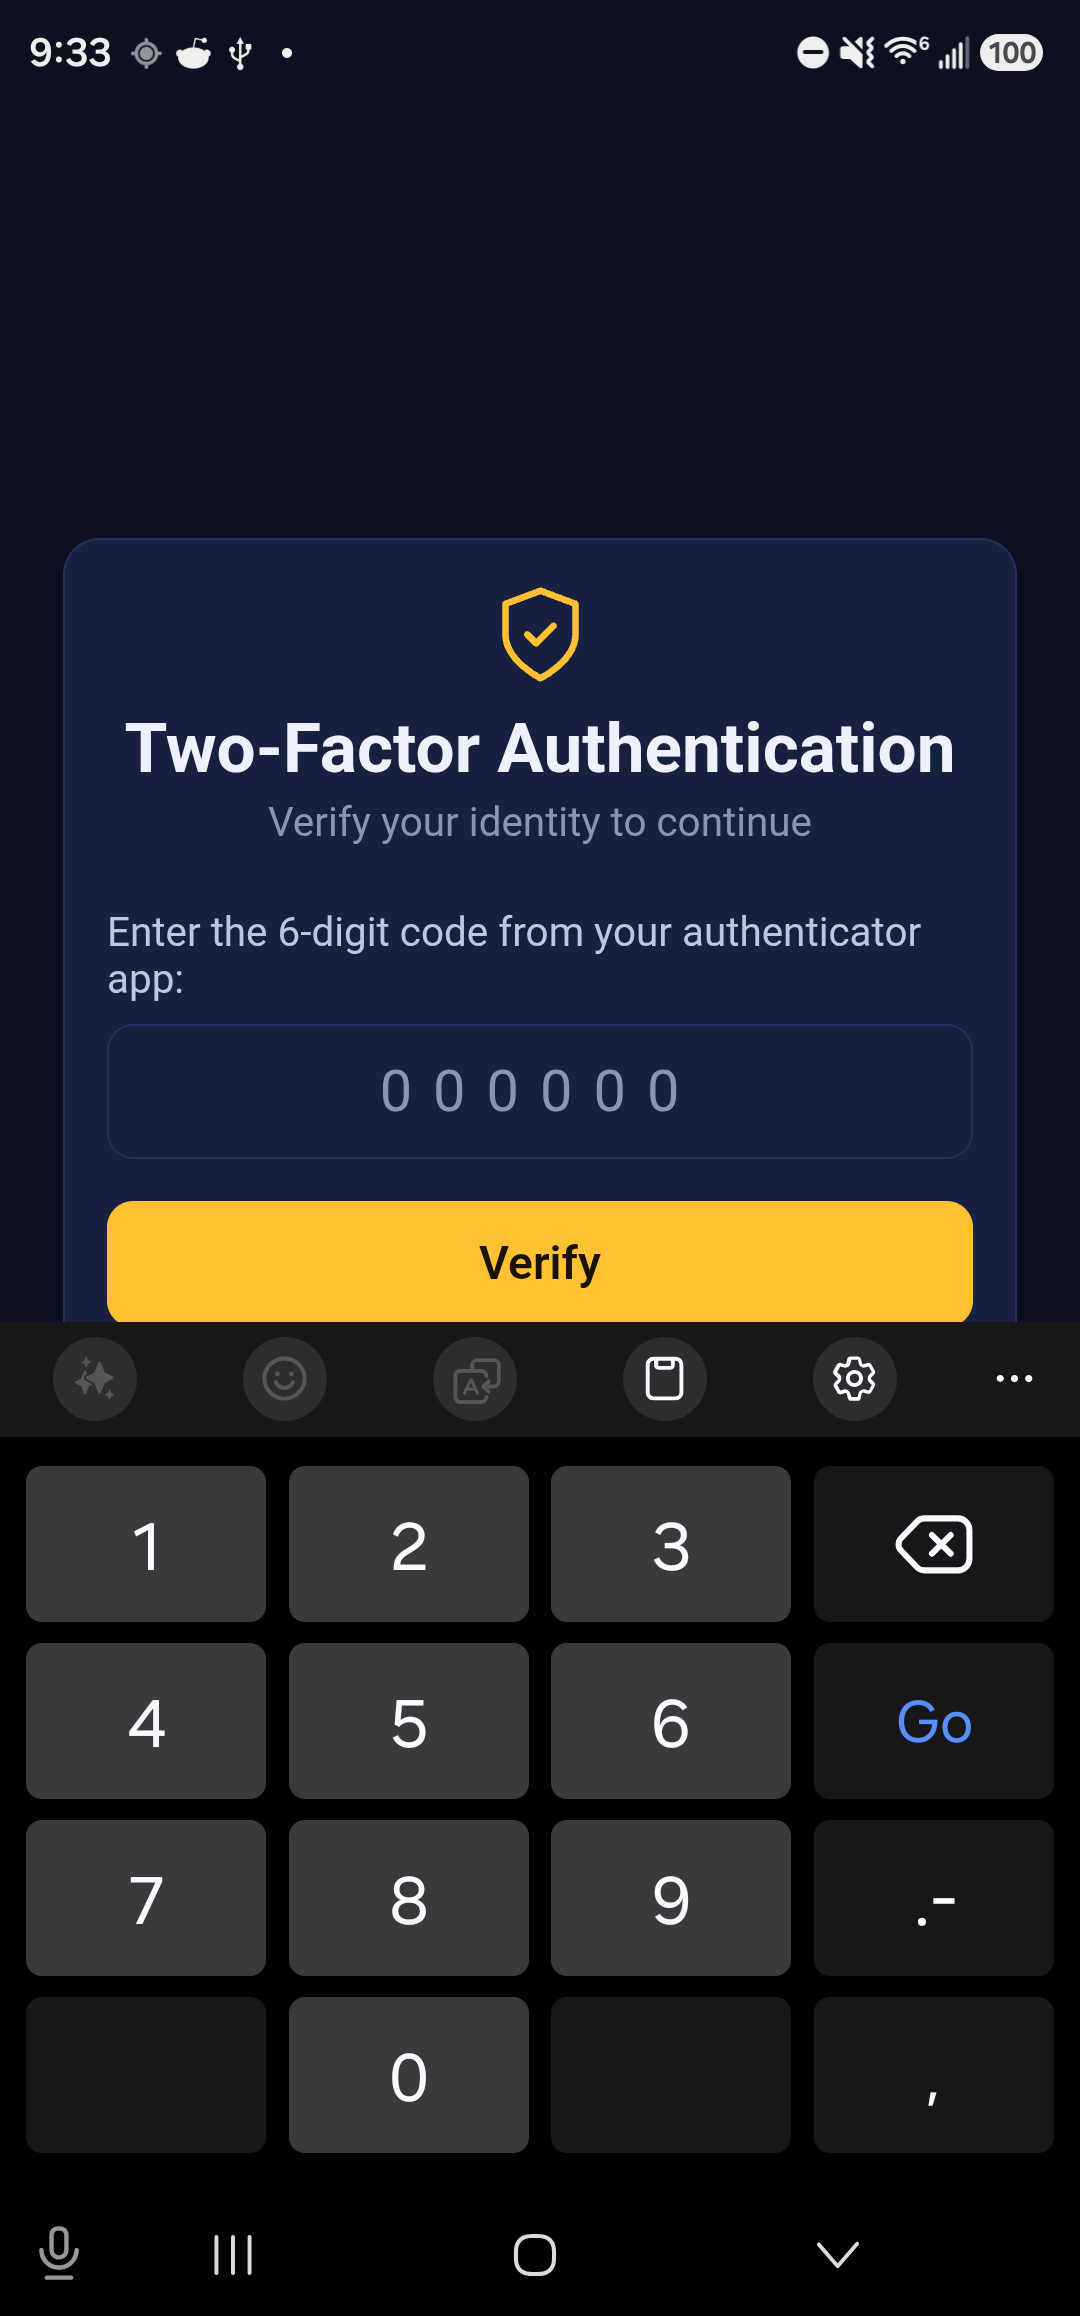
- Remember this device for 30 days is ticked by default, and it is the setting that stops the prompt appearing every time on your own phone. Untick it on a phone that is not yours.
- Use a recovery code instead is the route in when your authenticator is on a phone you no longer have.
- Cancel returns you to sign-in without completing the sign-in.
Resetting a Forgotten Password
After this section you will be able to get back into your account without help.
Tap Forgot password? on the password step. Enter your email address and tap Send code. The screen says that a code has been sent if an account exists for that address, and it says the same thing either way; it will not confirm to whoever is holding the phone whether you have an account here.
The email shows a six-digit code. Type it into the Code field on the same screen and enter the new password twice. The code works once and expires after one hour; if it has expired, tap Send a new code.
Wrong codes are counted. After five wrong codes in a row your account stops accepting codes for a while: a minute at first, twice as long after each further wrong code, and never more than a day. During that pause even the right code is refused with the same message as a wrong one. If a code you are sure of is turned away after several misses, wait, then tap Send a new code; the first correct code after the pause starts the count afresh. After 100 wrong codes in a row, codes stop working for your account altogether until our support team has confirmed it is you and turned them back on.
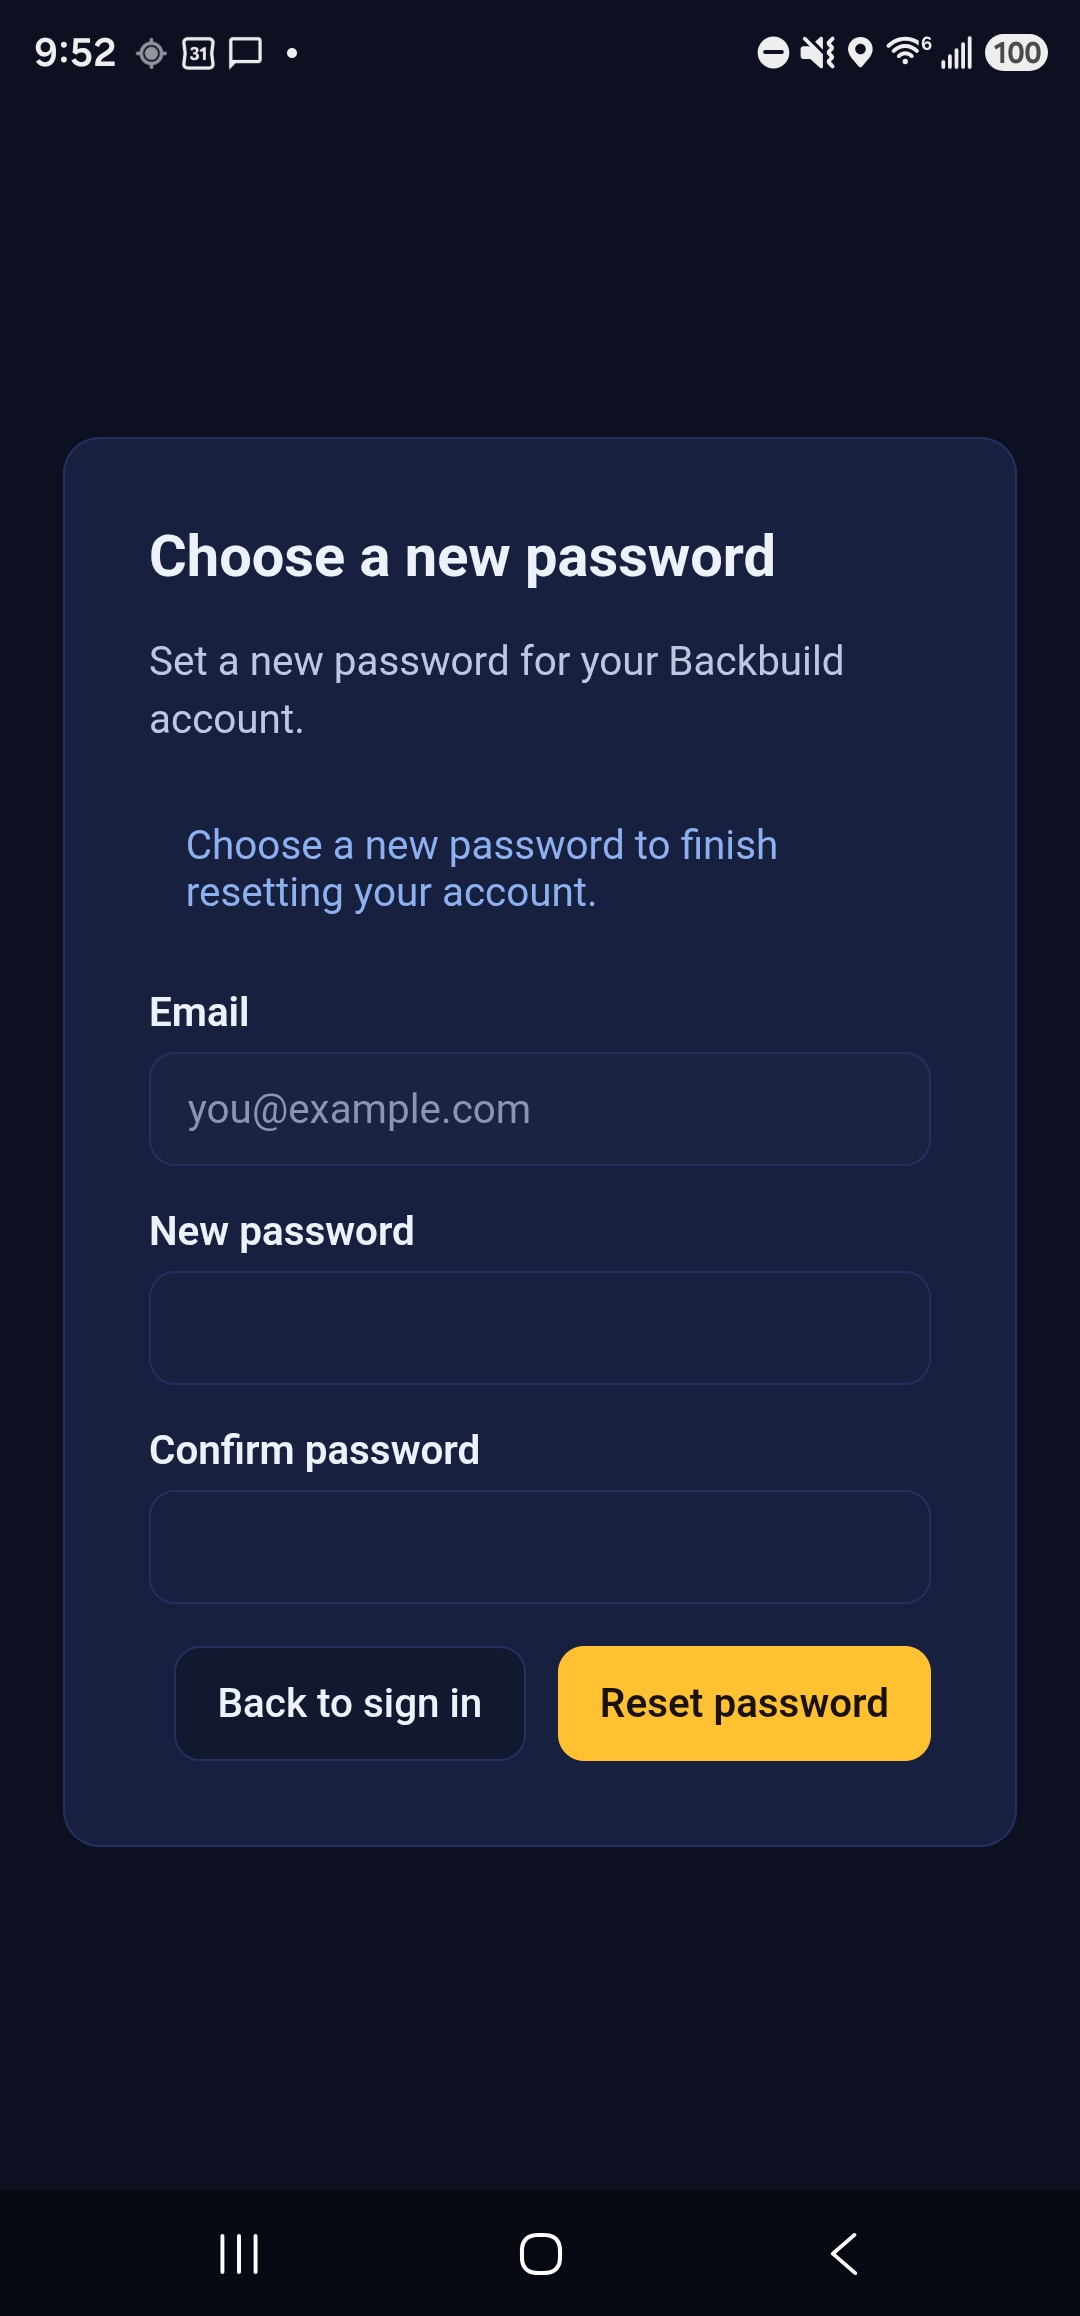
The new password must satisfy the same requirements as at sign-up, and the two entries must match. If either fails, the screen says which one before it sends anything. When it succeeds you are told so, and you sign in with the new password, including the two-factor step, which a password reset does not change or remove.
Signing Out, and What It Does Not Stop
After this section you will know what signing out protects, and what it does not.
Sign out from the Account tab: it is the last item on the screen, marked in red. It takes effect immediately, with no confirmation step, so do not tap it to explore.
Signing out removes your session and your saved account details from the phone, so the next person to open the app sees the sign-in screen and cannot read your trips.
It does not stop recording. This is the part worth being clear about. Automatic capture is performed by an Android background service that does not consult your session at all, so if automatic tracking is switched on, Backbuild Miles keeps recording drives while nobody is signed in, and holds them on the phone until someone signs in and they can be filed. That is deliberate (a drive that happens while your session has quietly expired is still a drive you need on your mileage log), but it means signing out is not how you stop tracking.
To actually stop recording, turn automatic tracking off in Settings. See Your Mileage Settings.
Signing In with Google
After this section you will know what to expect from the Google route.
Sign in with Google hands you to your phone's browser, where you choose your Google account, and then returns you to Backbuild Miles signed in. It is the same account either way: if you already have a Backbuild account under that address with a password, you will be asked for that password once, to confirm that you are linking your own two accounts and not claiming somebody else's.
If the return trip does not complete, the app tells you why rather than sitting silently on the sign-in form, and you can always fall back to your email address and password.
If Something Goes Wrong
After this section you will know what the common failures mean.
- "Invalid email or password."
- The credentials were not accepted. The message is the same whether the address is unknown or the password is wrong, deliberately, so the screen cannot be used to find out who has an account.
- "Too many sign-in attempts. Please wait a few minutes and try again."
- A protective limit, not a wrong password. Your password may well be correct; waiting is the fix, and changing it will not help.
- "Your session expired. Please sign in again."
- Sessions do not last forever. Sign in again; anything recorded in the meantime is still on the phone and will be filed once you are back.
- The verification code will not accept.
- Codes last ten minutes. Use Resend code for a fresh one. For authenticator codes, check your phone's clock is set automatically: a clock that is minutes out generates codes the server has already moved past.